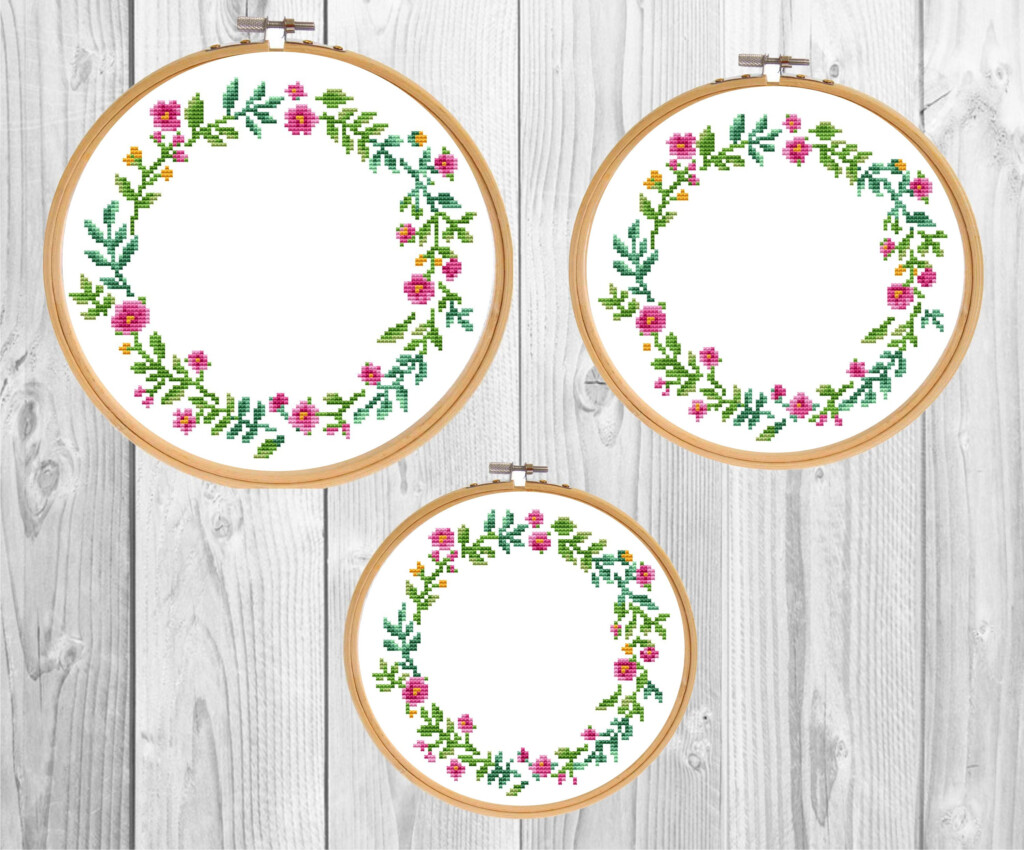
Floral Border Cross Stitch Pattern Free – Cross stitch is a timeless and peaceful embroidery technique that allows you to produce spectacular layouts with just a needle, thread, and fabric. Whether you’re a newbie or a knowledgeable stitcher, understanding Floral Border Cross Stitch Pattern Free is key to crafting lovely pieces. In this guide, we’ll check out whatever you need to understand about cross stitch patterns, from necessary materials to sophisticated strategies, making sure that you get the confidence to produce detailed and professional-quality layouts.
What is a Floral Border Cross Stitch Pattern Free?
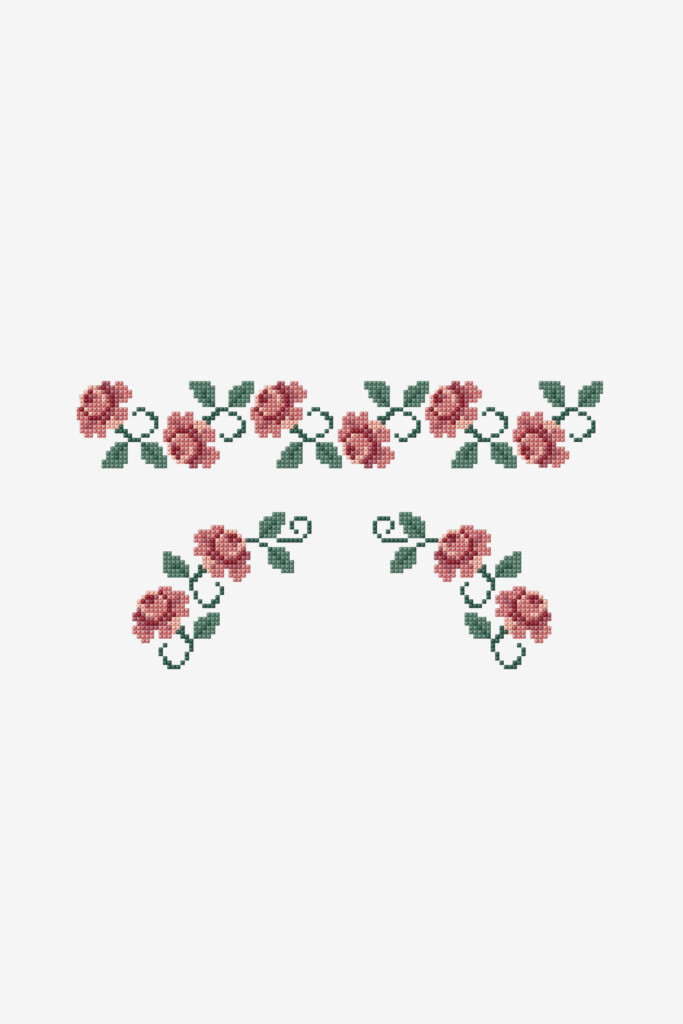
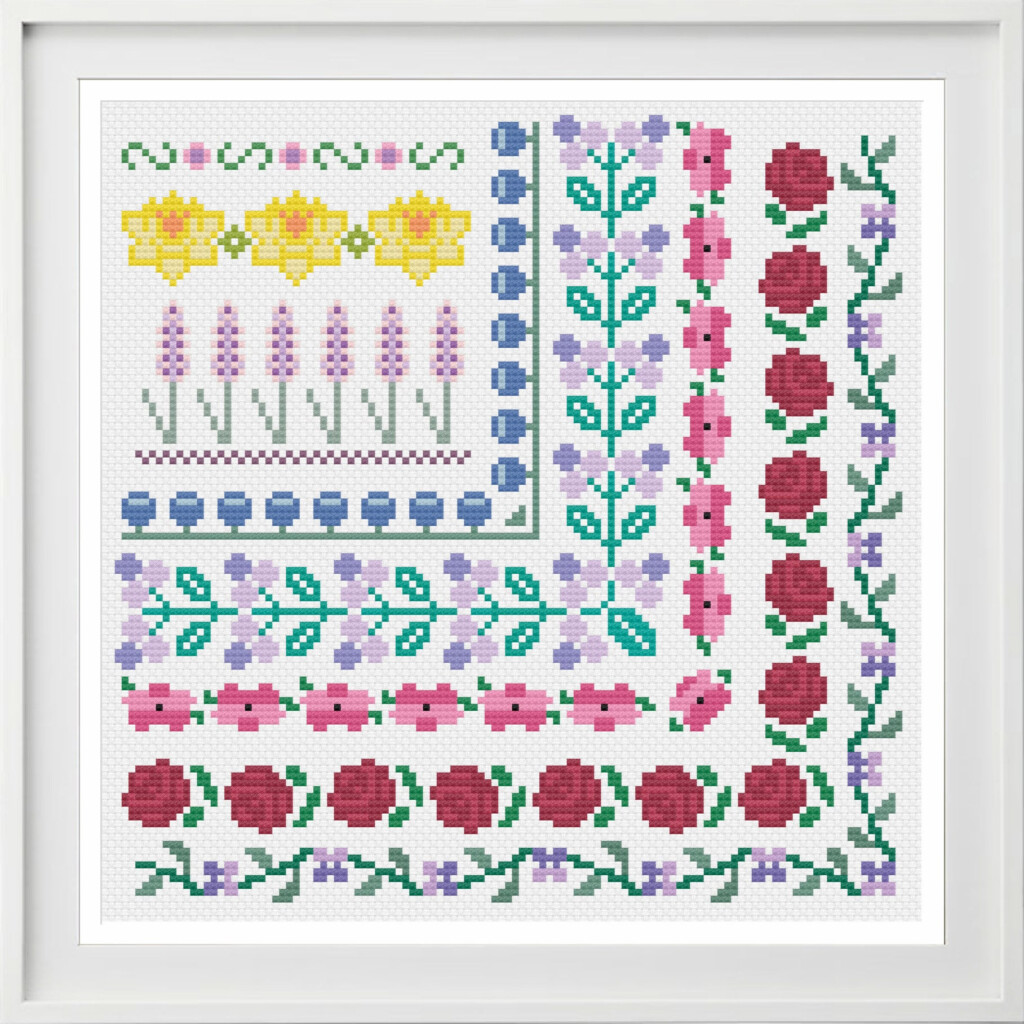
A Floral Border Cross Stitch Pattern Free is a grid-based design that guides stitchers in creating a stitched photo. Each square on the pattern stands for a stitch, with different colors and symbols corresponding to certain thread shades. These patterns can range from straightforward concepts to elaborate artworks, supplying an infinite range of innovative opportunities. Recognizing just how to read and adhere to these patterns appropriately is vital for both precision and effectiveness in your stitching jobs.
Why Use a Pattern?
- Uniformity: Ensures uniformity in stitches and design, making your job appear polished and professional.
- Guidance: Helps newbies follow a structured strategy, decreasing mistakes and confusion.
- Innovative Freedom: Allows customization with different color choices, making every piece unique to the stitcher.
- Scalability: Can be adjusted to different fabric sizes and stitch counts, making it versatile for numerous project dimensions.
- Effectiveness: Saves time by providing a clear roadmap, aiding stitchers intend their work in advancement and prevent unnecessary blunders.
Products Needed for Floral Border Cross Stitch Pattern Free
To begin with cross stitch, you’ll require the appropriate products. Here’s a failure of important tools:
| Material | Summary |
|---|---|
| Fabric | Aida fabric is generally made use of because of its easy-to-count grid. Linen and evenweave materials offer finer detail, ideal for innovative stitchers. |
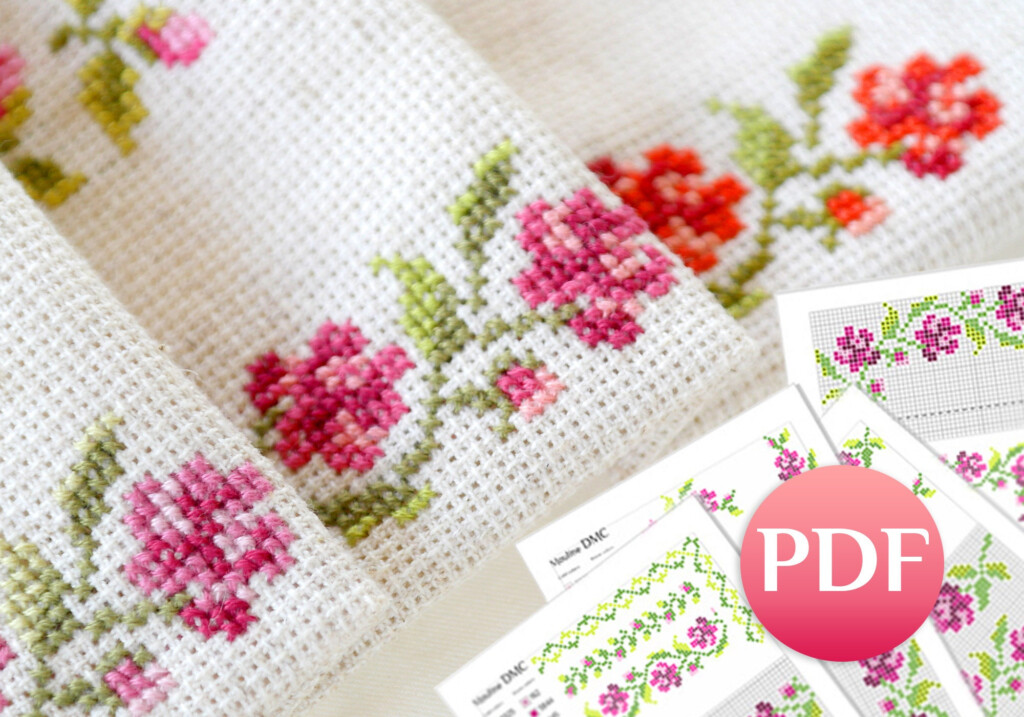
| Strings | Embroidery floss, typically DMC, Anchor, or Madeira brand names. Readily available in hundreds of colors to bring styles to life. |
| Needles | Tapestry needles with blunt pointers to stop fabric damage. The best size depends on fabric kind and personal preference. |
| Hoop/Frame | Keeps fabric taut, protecting against creases and irregular sewing, making sure uniformity in your stitches. |
| Scissors | Small, sharp embroidery scissors for specific thread cutting and trimming excess fabric. |
| Pattern Chart | Printed or electronic Floral Border Cross Stitch Pattern Free for advice, offering clear guidelines on stitch placement and shade choice. |
| Light Source | A well-lit workspace assists stop eye stress and allows for much better accuracy in stitch positioning. |
| Thread Organizer | Maintains embroidery floss tangle-free and easy to access, making color changes extra effective. |
Reading a Floral Border Cross Stitch Pattern Free
A properly designed Floral Border Cross Stitch Pattern Free provides all the needed details to bring your design to life. Comprehending just how to interpret a pattern effectively makes sure accuracy and performance in your work.
1. Signs and Color Key
Patterns use signs to represent different thread colors. Each symbol represents a specific floss color, normally noted in a tale with the thread brand name and number. Familiarizing on your own with this legend before starting will certainly make sewing much smoother.
2. Grid System
Floral Border Cross Stitch Pattern Free are arranged on a grid where each square represents one stitch. The darker lines suggest every 10 squares, aiding you count and place your stitches accurately. This structure makes sure placement and protects against blunders when sewing huge, detailed designs.
3. Stitch Types
- Complete Cross Stitches (X): The conventional stitch, creating an X shape that gives complete coverage.
- Half Stitches (/): Used for shielding and great details, creating a smoother gradient result.
- Backstitching (-): Used to describe and specify forms, adding depth and clearness to the design.
- French Knots (o): Adds structure and attractive accents, frequently used for eyes, flowers, and embellishments.
- Lengthy Stitches (–): Stitches that extend multiple squares to develop special effects, typically utilized in specialty styles.
4. Start Point
Many patterns recommend starting at the facility to make certain appropriate placement. Find the center by folding the fabric in half both means, noting the center with a water-soluble pen or a tiny stitch. Starting from the center assists preserve proportion and equilibrium throughout the task.
Fundamental Cross Stitch Techniques
Understanding these techniques will certainly boost your sewing efficiency and results, making sure that your jobs look professional and polished.
1. Preparing Your Fabric
- Clean and iron fabric before beginning to remove creases and prospective discolorations.
- Use a hoop or frame to keep it taut, preventing misaligned stitches.
- If utilizing Aida towel, bind the edges with masking tape, battle royal check, or a zigzag stitch to prevent tearing gradually.
- Take into consideration gridding the fabric with cleanable fabric pens to aid with placement.
2. Threading the Needle
- Cut a piece of embroidery floss around 18 inches long to stop tangling.
- Use one to three hairs, depending on fabric count and preferred insurance coverage for ideal outcomes.
- Thread the needle and secure the beginning end with a loophole or tiny knot, or utilize the “loophole approach” for a neater back.
3. Stitching Methods
- Row Method: Complete one half-stitch (/) across a row, then return with the other half () to develop an X. This serves for maintaining stitches attire.
- One-by-One Method: Complete each full X prior to moving to the following stitch, perfect for patterns with frequent color modifications.
- Parking Method: Useful for complicated designs, allowing stitchers to collaborate with multiple colors without complication.
4. Securing Threads
- Prevent knots at the rear of your job; instead, weave the thread under previous stitches for a tidy and professional finish.
- Maintain the back neat to avoid bulkiness and uneven stress, which can misshape the fabric.
Usual Mistakes & & How to Avoid Them
| Error | Service |
| Miscounting stitches | Constantly cross-check the grid and use a highlighter to mark finished areas. Double-check prior to moving on. |
| Unequal tension | Preserve stable stress; avoid pulling as well tight or leaving stitches too loose. Consistency is essential to professional-looking work. |
| Incorrect thread color | Verify the pattern secret prior to beginning each area to stop taxing mistakes. |
| Fraying fabric | Secure sides with tape or a stitching maker zigzag stitch. Using a hoop assists lessen fraying. |
| Messy back | Keep the back neat by weaving in loose ends nicely. This will protect against swellings when framing the finished piece. |
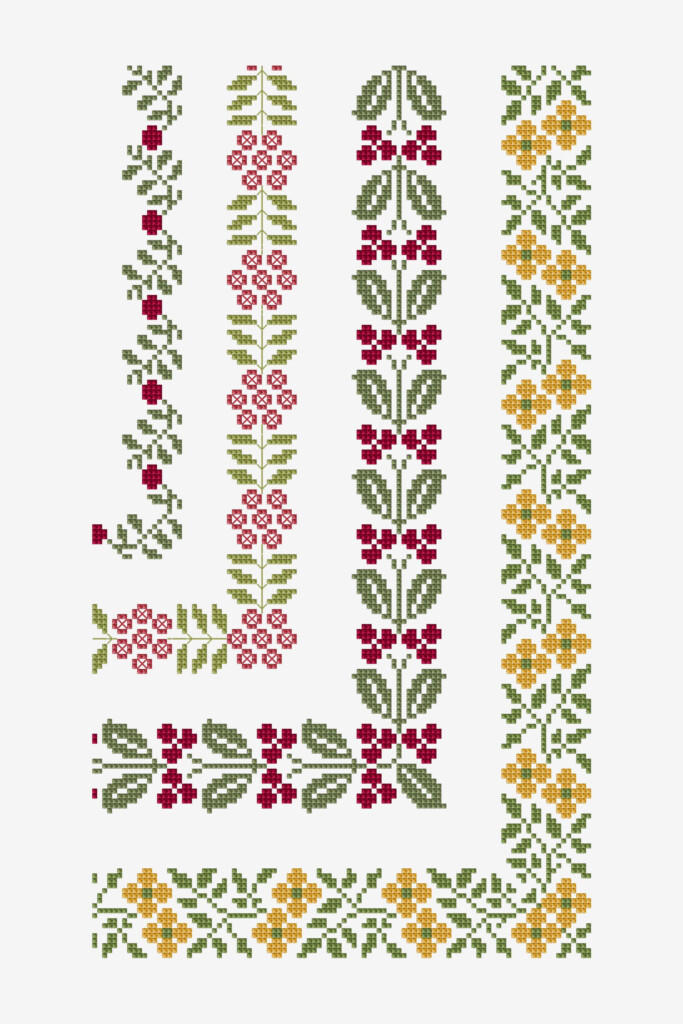
Download Floral Border Cross Stitch Pattern Free

Last Thoughts
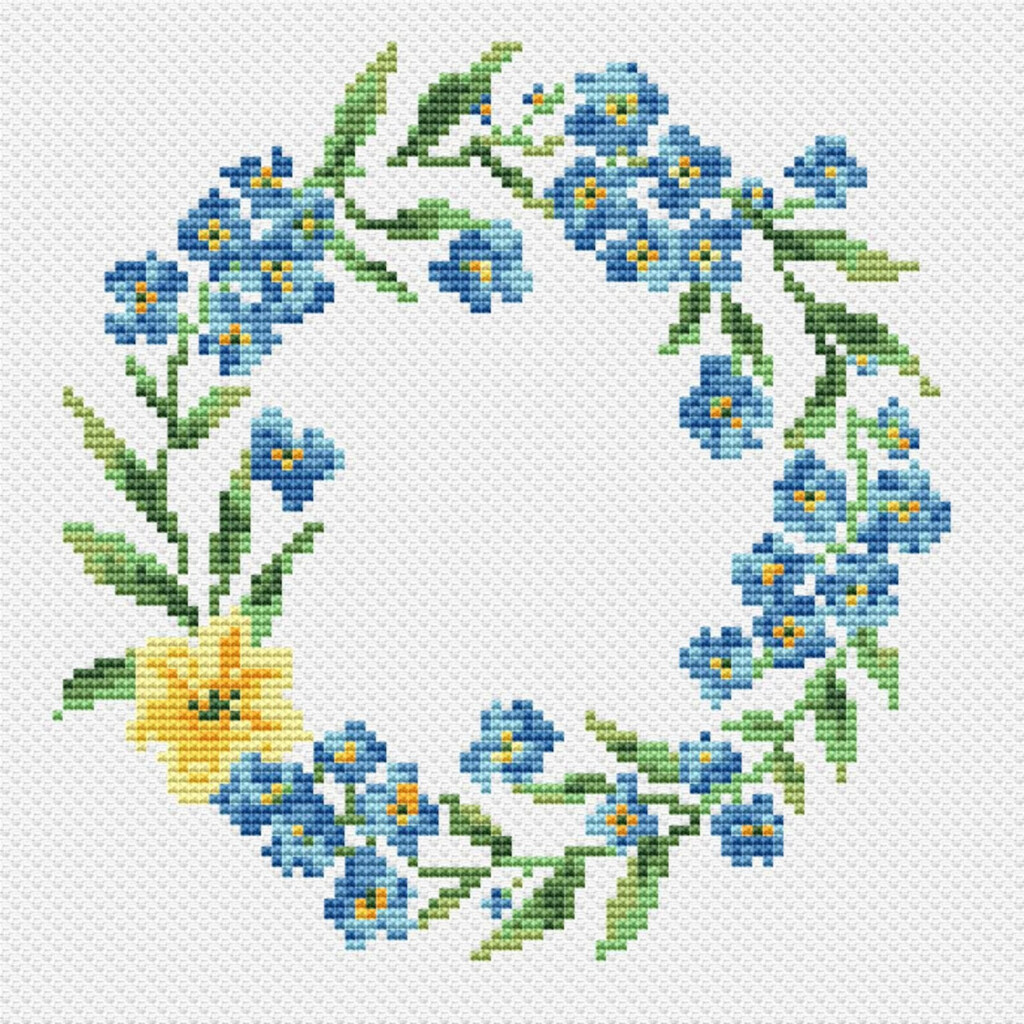
Floral Border Cross Stitch Pattern Free offer endless possibilities for imagination and craftsmanship. Whether you’re following a classic design or developing something distinct, recognizing the principles of reviewing patterns, selecting materials, and developing techniques will certainly aid you create stunning tasks. Maintain practicing, trying out, and most notably, appreciating the procedure of sewing! Cross stitch is not simply a hobby– it’s an art type that permits you to bring intricate styles to life, one stitch at once.
Pleased sewing!